2021 Year of change.

For me the 2021 year was a time of transition, growth, fresh energy, and new directions. After 14 years working for Guy Harrison in Ottawa, I moved to Boston in April to start working as a full time restorer for Reuning & Son Violins. It’s an honor to be part of such a fantastic and knowledgeable team, and I am excited to be working on many fine instruments at the shop. I continue to build my own instruments independently, right now I am working on two cellos.

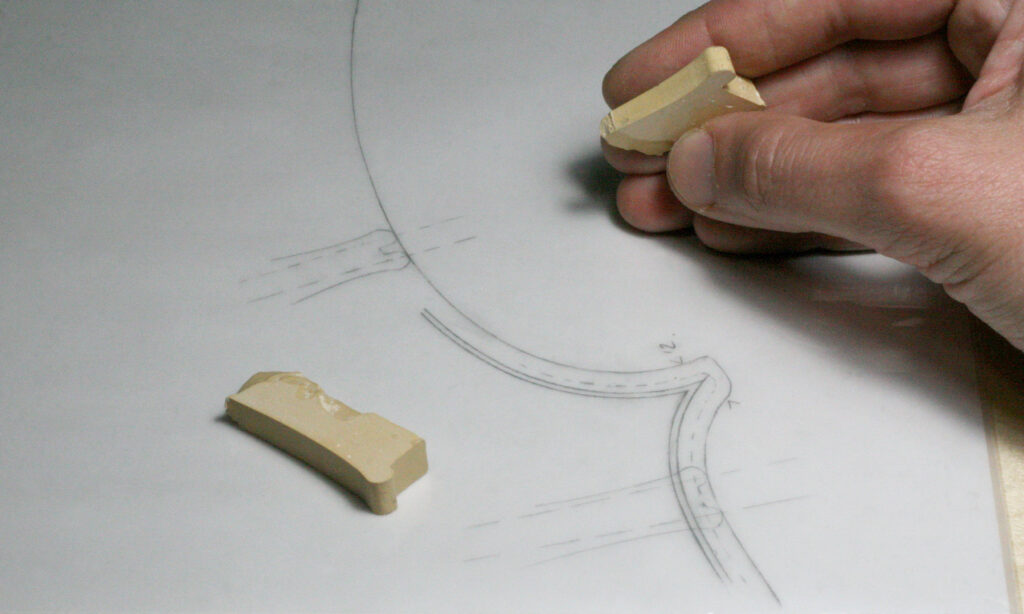
In August of last year, The Strad published an article I wrote about methods of recording arching curves using a dental compound. The article is an extension of a presentation I gave at the VSA Violin Makers in Oberlin in June 2018. You can read my article here: https://www.thestrad.com/lutherie/recording-arching-profiles-ahead-of-the-curve/13284.article

Another highlight of 2021 was being voted into the American Federation of Violin and Bow Makers. The Federation has strict requirements for membership, admitting only those who pass its rigorous standards of workmanship and ethics. In order to be considered for membership in the AFVBM, a maker must present their work to a panel of judges. At their September meeting in Los Angeles, I presented my latest violin, an instrument modeled after the “Ysaÿe” by Guarneri Del Gesu. Not only am I proud to have been voted into the Federation; I am also happy that the violin I presented to them soon found a home with a musician in the San Diego Symphony!

A Thank You to the Ontario Arts Council

I wanted to extend my warmest thanks and share with you some highlights from my experience gained through the Chalmers Professional Development Grant, which was granted to me by the Ontario Arts Council in 2015.

The grant allowed me to attend this year’s violin making workshop in Oberlin, Ohio for two weeks. There, while working on a violin, I was able to attend great lectures given by colleagues coming from all over the world and discuss various making techniques and the latest technological developments. Additionally, I had a chance to study the Jackson Stradivari violin (1714) and I was able to show my work and discuss it with my peers.

I also went to Sault-Ste-Marie for one week of study with Raymond Schryer in the fall. We discussed the use of wood, in particular Canadian species and studied the classical design and arching of Stradivari’s golden period (in particular the P form). I got to see and use his methods of making, which was a very valuable experience for me.

Those experiences allowed for me to see many different approaches and consider ideas which in future years can only be beneficial to my work as a violin maker. Thanks again,

Charline Dequincey


OAC_REVISED_NEWCOLOURS_1805c


Copyrights © 2016-18 Charline Dequincey. All rights reserved.


Making a cello

Very nice cello, with a handsome varnish. The sound is well balanced with a deep and strong C string, which can be difficult to find in a cello. I also like the width and projection of the A string sound.”

Paul Marleyn, Professor of Cello at the University of Ottawa

www.paulmarleyn.com
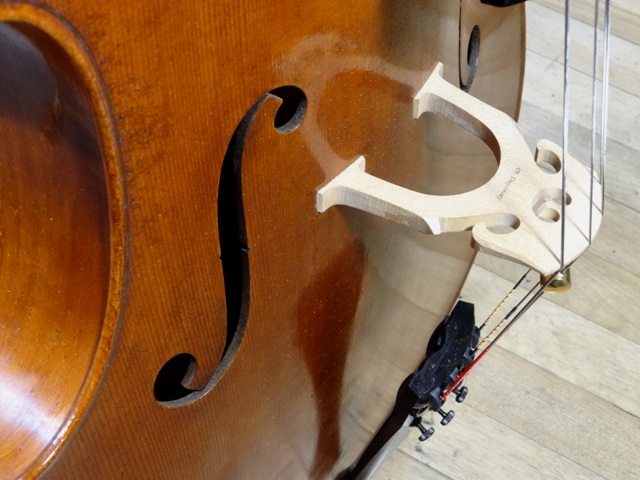
Poplar Cello all copyrights Ch. Dequincey

A musical instrument such as a violin, viola or cello is the result of an accumulation of decisions from its conception (and wood choice) to its set up including the design of its outline, proportions, arching shapes, distribution of thickness, sound hole placement/shapes, neck measurements, etc. Despite certain standardizations created by the historical evolution of the instrument, we are still left with a relatively large range of choices.

Before starting an instrument, it is quite important for me to define clearly what I want to achieve in terms of sound, comfort of playing and style. This helps me to determine what model of instrument I’ll be working from. I then decide how much freedom I’m going to take with the entire design: if I’ll base it on a particular instrument or maker, or if I’ll just work from a general feeling of a violinmaking school/period and create my own outlines.

I personally fancy the dark and deep quality of the lower register in quartet instruments, so when I got access to a source of poplar big enough to built cellos, I thought it would be perfect since poplar has a reputation for creating a darker sound in violas and cellos. While I was researching more about it, it also seemed to be associated with quieter instruments. I thought this would make an interesting challenge: to try to get both projection and depth in the lower range of a cello.

With this goal in mind, I picked a model with proportions that would serve this purpose, while also ensuring that the body measurements remain in a standard range that would be comfortable for a cellist to handle. Of course, the overall look is also quite important to me and was taken into consideration. From this starting point, all subsequent decisions were based on previous experience making cellos, observations I gathered working on older instruments as a restorer and influences from publications on related topics. One source of inspiration that was particularly helpful was Frank Ravatin’s talk entitled ‘’Cello making, models and measurements’’ given in November 2004 and published in the Vol. XX, No3 of the fall 2006 VSA journal.

One might never know, but some unexpected exceptions to what we thought was the rule might bring us to revise all our conceptions, and such it is the exciting learning curve of a violin maker’s journey. I’m generally quite curious before playing an instrument for the first time, and especially when trying a new model! Did the elements come together as expected? I was quite pleased with the results of this last instrument.

As a limited cello player, I felt very lucky to get feedback from professional cellists performing in Ottawa.  I would like to thank them all warmly for it. As a maker working for and with musicians, it is essential for me to stay in touch with their needs and variety of tastes. Therefore, after benefiting from their experience, I was able to make some final adjustments on what turned out to be a very fine instrument!
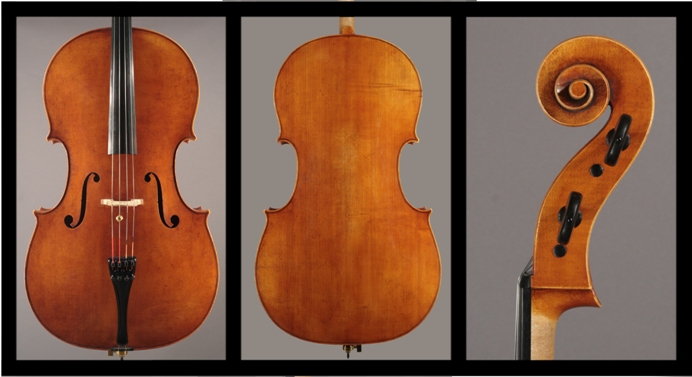
Poplar Cello 2014 © Ch. Dequincey c

Copyrights © 2016-2021 Charline Dequincey. All rights reserved.
Shark skin

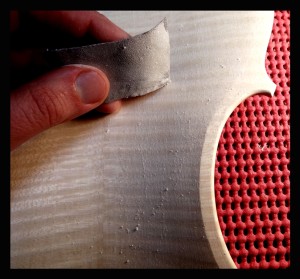
using shark skin ©Ch. Dequincey -All rights reserved
Sanding with shark skin

The use of shark skin was introduced to me several years ago during an internship in England. The skin of sharks has an abrasive property which once dry can be used like sandpaper on wood. Nonetheless, I find that a small piece of shark skin tends to last longer than sand paper.

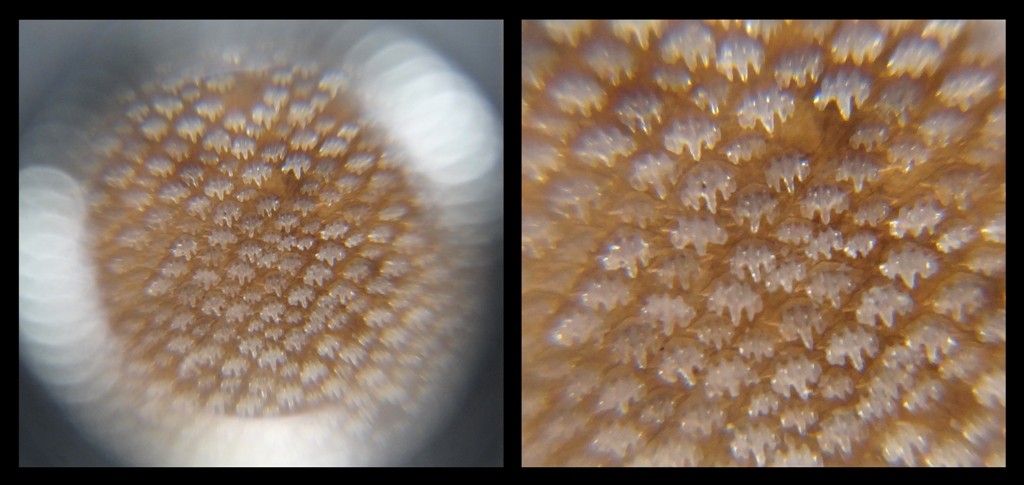
In the “Sacconi book”[1], there is a hand drawing of enlarged dermal denticles from a dogfish (Fig.29 p33). I gathered from my peers comments on the forum Maestronet that the grit may vary with the species and the age of the fish. Dogfish seems to be coarser with a 60/80 grit compared to the labelled “shark” I have found at my local fish shop closer to 240/320 grit.

Also, close up pictures of the Titian Stradivari violin seems to have revealed some “narrow-spaced striations” on the back as mentioned by Samuel Zygmuntowicz in the Strad article published in February 2009: Analysing the ‘Titian’ Stradivarius violin, 1715.

dermal denticles ©Ch. Dequincey -All rights reserved
Close up picture of the dermal denticles from one of the samples

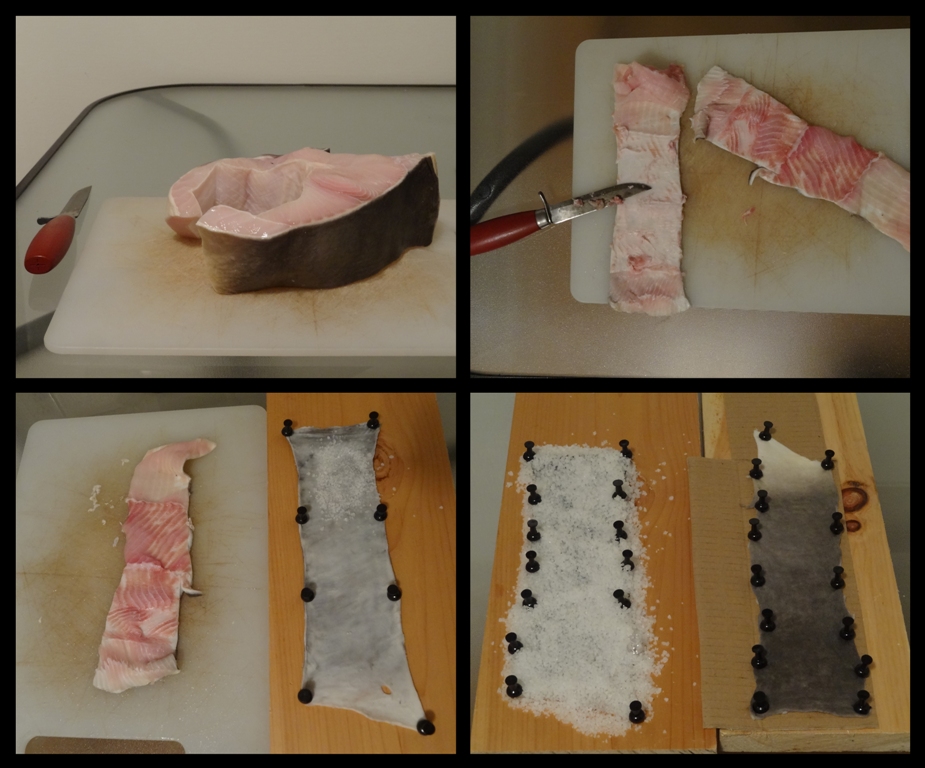
curing shark skin ©Ch. Dequincey -All rights reserved
Cleaning and curing process

I thought I would share the two different approaches that I’ve tried to cure the shark skin, in case it would be of interest for my colleagues (in terms of historical reconstitution).

In order to be practical, I tried to use products easy to get and not too unpleasant to handle and therefore decided to experiment with two techniques. In the first one I used a layer of sea salt to pull out the humidity from the inside of the skin. For the second one I let the skin dry with the inside of the skin resting on a thick piece of cardboard. Both worked quite effectively. I had a fan blowing air sitting right next to them, just to make sure it would cause the humidity (and the smell) to circulate. The pieces of skin were held flat using poster pins.

As I was experimenting, I attempted to remove more of the white part between the coarse grey surface of the skin and the flesh on one piece. This one seemed to be ready to use once dry. To do it efficiently requires a sharp knife and caution not to cut a hole through the skin. The second one, to which I had only removed the flesh was thicker and needed to be scraped once dry (a bit like with parchment) in order to thin it down. So it is also possible to adjust the thickness and therefore the flexibility of a piece of “shark skin paper” at the end.

Then, I washed both of them in a baking soda solution (and skipped the urine part advised in some recipes) and dried them as much as I could with paper towel before preparing them to dry flat.

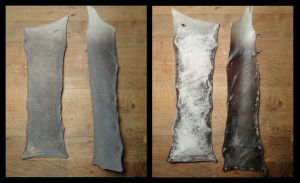
cured shark skin ©Ch. Dequincey -All rights reserved
Final result

[1] The “secrets”of Stradivari, by Simone F. Sacconi, 2000, Cremona, Eric Blot Edizioni.
Copyrights © 2015-2021 Charline Dequincey. All rights reserved.
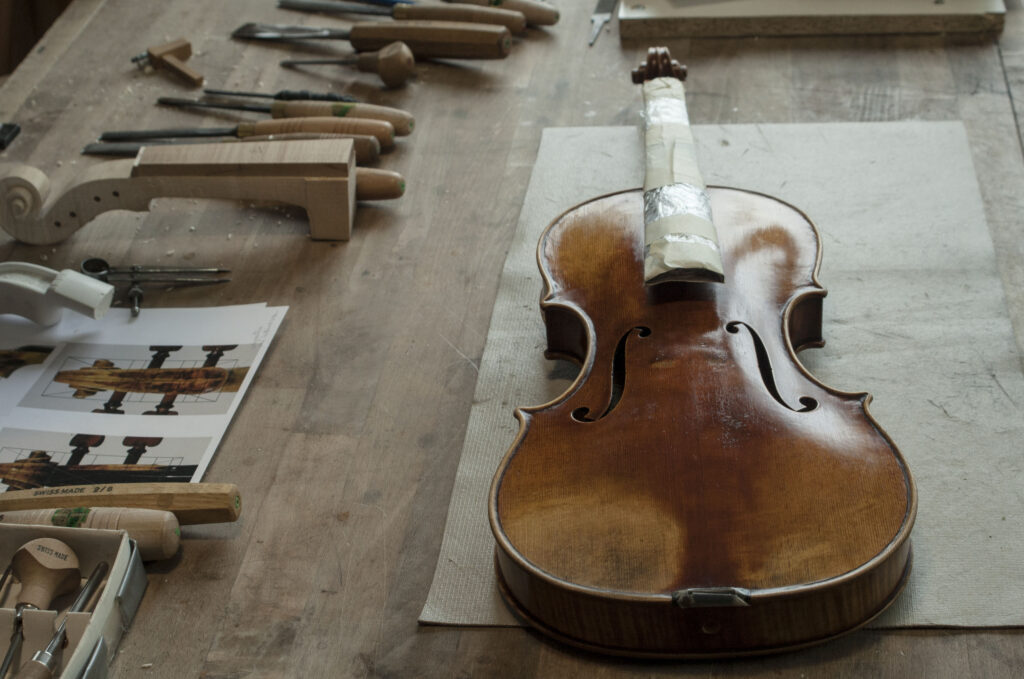
Making varnish for violins

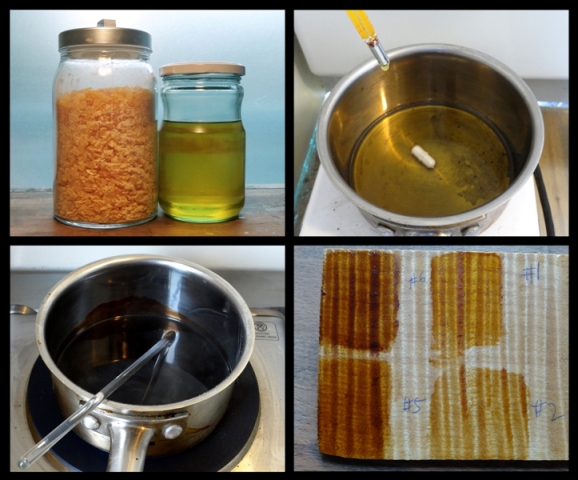
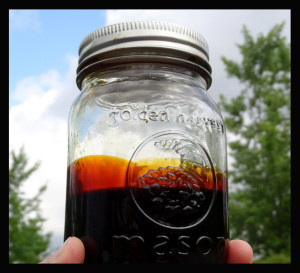
Violin varnish © Ch. Dequincey -Rsz2The warm season is the ideal time to prepare varnish as it is better to be outdoors to cook the ingredients. I wouldn’t recommend that anyone experiment in their kitchen as there are too many ways it could go wrong, starting with strong and persistent resin and linseed oil smells in the best case scenario.

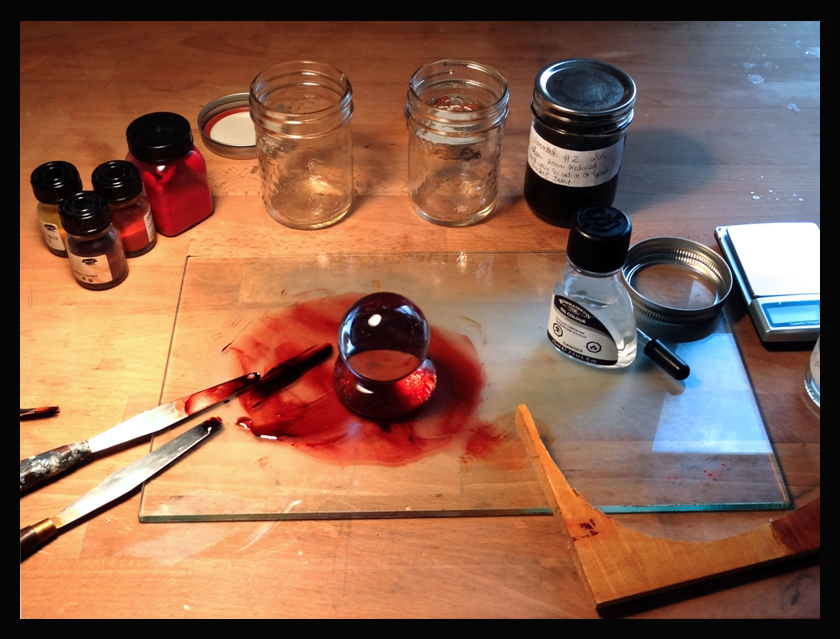
The varnish I use for my instruments is a mixture of drying oil, cooked rosin and thinner. I’m using ingredients, like linseed oil and colophony, known to be accessible in Europe at least 400 years ago, and were used by painters. The delicate part of preparing oil varnish resides in the cooking: it is important to use the right temperatures; the right amount of time; and the proper ratios to obtain the desired hues and properties. The layers should cure within a reasonable waiting time, and have the desired texture and transparency. Of course, regarding the colouring there are different ways to adjust it later by adding some finely ground pigments for example.

Pot de vernis © Ch Dequincey

I also enjoy experimenting with the products. It allows me to explore their range of properties and get more acquainted with the results that can be obtained. This provides me a better understanding and control in the resulting product.

This year I’ve been incredibly lucky to be able to work with an outdoor laboratory ventilation hood within an inspiring country sight. I want to warmly thank Mo for making this happen, his family for their welcome and Devon for his chemistry advice.

In the last decades analyses of Stradivari’s varnish have been published, some of the most recent ones confirm the use of several materials.

-Two articles related to the study driven by la Cité de la Musique in Paris:

What exalts Stradivarius? Not Varnish study says, by Henry Fountain (December 4, 2009). The New York Time, retrieved from link.

Complementary spectroscopic analyses of varnishes of historical musical instruments, by Jean-Philippe Echard and Loïc Bertrand (7 April, 2010). Spectroscopy Europe Asia, Retrieved from link.

Stradivari Varnish: Scientific Analysis of his Finishing Technique on Selected Instruments, by Brigitte BrandmairPeter Stefan Greiner, 2009, ISBN 3-00-028537-7.

An other interesting read about violin varnish:

Violin varnish, notes and articles from the workshop of Koen Padding, edited by Helen Michetschläger, 2015, (Sale, UK) Doratura publications.

Pigment © Ch. Dequincey

Copyrights © 2015-2021 Charline Dequincey. All rights reserved.
Poplar cello

Cellos or Violas made with poplar or willow backs have a reputation for having a warm sound. These wood species were used throughout the history of violin making, and particularly in Cremona during the second half of the XVII century and the first half of the XVIII century. In his book, “The Secrets of Stradivari,” Simone F. Sacconi mentions that two fifths of Stradivari’s cellos still remaining, feature poplar or willow backs. There are fine examples of those instruments in the collections of the Royal Academy of Music in London and at the Library of Congress in Washington DC.

A few years ago, I acquired some pieces of Canadian poplar which were quarter sawn for violin making use and big enough for a cello. Guy Harrison and I had built in 2009 a cello using European poplar, resulting in a very satisfying sounding instrument. As I was curious to try this other kind of poplar on a cello, I built one. In fact, the spruce used for the blocks and the front also came from Canadian forests, making the body of this instrument entirely Canadian sourced!

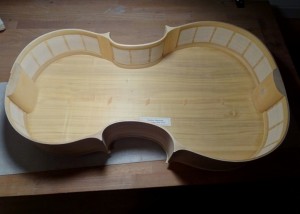
Cello patchesTo work with a different wood than the more common maple required that I take into consideration the differences in mechanical and acoustical properties. Accordingly, I adjusted the thicknesses in relation to the density of the wood. Then I measured the tap tones and weight, in order to adjust the final stiffness of the back as a free plate, using Nigel Harris’ method.

Some instruments with poplar/willow back features ribs made in a different wood than the back, such as ash or beech, matching the scroll. I used poplar for the ribs to match the back, and reinforced them with linen (a method also employed by Antonio Stradivari).

Copyrights © 2015-2021 Charline Dequincey. All rights reserved.